Configure Sterling B2B Integrator
In Sterling B2B Integrator there is quite a few things to do to make this work the first time.
Create Adapter Container
The WebSphere MQ File Transfer Edition Agent Adapter can’t run on the ASI Node, and thus need a Container Adapter.
If this is to be done on a Single Node SB2BI Instance, I go to the <SB2BI install Directory>\install\bin and stop SB2BI (./hardstop.sh), and then run the following commands (it will take some time).
Then start Sterling B2B Integrator again (./run.sh).
If it is a Clustered Installation, like in my case where I have 2 SB2BI Nodes in a cluster, the first command (./startCluster.sh 1 false) don’t need to be executed. This command was executed when the Cluster was configured. So then the only thing needed to be executed is ./setupContainer.sh 1. The number 1 indicates that this is the first Adapter Container. So this number has to be 2 for the second one and so on.
To start the new Adapter Container, execute the command ./startContainer.sh 1 (when starting SB2BI from scratch, use ./runAll.sh to start both the ASI Node and the Adapter Containers).
There should then be a new Adapter Container created in Sterling B2B Integrator. In my case, I have created an Adapter Container on both my SB2BI Nodes.
Create FTP Server Adapter
The WebSphere MQ File Transfer Edition Agent Adapter uses the FTP Server Adapter to access the mailboxes on SB2BI. Both the FTP Server Adapter to be created in this step, and the WebSphere MQ File Transfer Edition Agent Adapter created in a later step needs to run in the Adapter Container created earlier.
Create a FTP Server Adapter by going to Deployment -> Services -> Configuration. Select the Adapter Container as Environment (I activate it for both my Nodes).
Setup Users, Mailboxes, Virtual Roots and Permissions
A Sterling User is needed to access the Mailboxes used for sending and receiving files between the FTE Agent in SB2BI and the FTE Agent on the WebSphere MQ FTE system. There are by default two Mailboxes that need to be created. One Mailbox for outbound files and one for inbound files. The user created needs a Virtual Root and the right permissions to access the Mailboxes created.
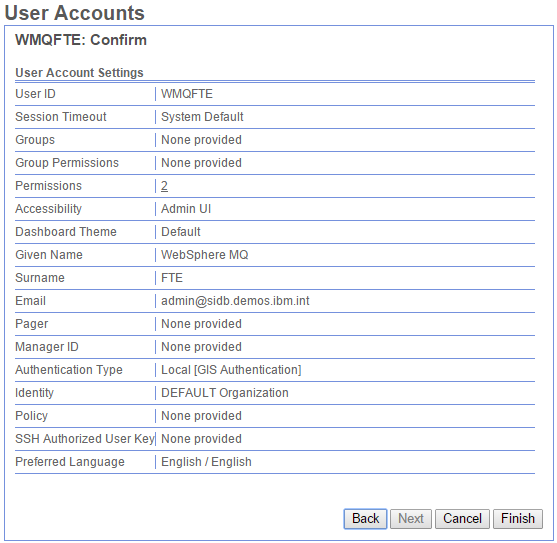
Create User
This is the user that is accessing the Mailboxes to send and receive files.
Create the Mailboxes and VirtualRoot for the user
Two Mailboxes need to be created. One for files from WebSphere MQ FTE and one for files to WebSphere MQ FTE.
Create the Mailboxes, and make sure the WMQFTE user (created above) has Permissions to the Mailboxes.
The FTEMBX Mailbox for files From WebSphere MQ FTE.
The SOURCE Mailbox for files to WebSphere MQ FTE.
The Mailboxes created should look like this.
Add a Virtual Root for the User WMQFTE to the Mailbox /FTEMBX.
Additional Note:
In filegateway.properties, there are two variables that link to the WMQFTE Source mailbox and the Virtual Root. So by default the mailboxes should be created as /FTEMBX and FTEMBX/SOURCE to fit the default values for WebSphere MQ FTE integration.
If, by some reason, other Mailbox Names is needed, this can be edited in filegateway.properties, or preferably in customer_overrides.properties to avoid this being overwritten during patching. If put in customer_overrides.properties, use the following:
filegateway.wmqfteSourceMailbox=/ABC/XYZ
filegateway.wmqfteSourceUserVirtualRoot=/ABC
Create a WMQFTE User Map
It needs to be a mapping to connect the pairs of users in WebSphere MQ FTE and SB2BI.
Go to Deployment -> Adapter Utilities -> WMQFTE User Maps and create a new User Map.
Add the following entry.
Create a WebSphere MQ File Transfer Edition Agent
Adapter
This step creates an MQ FTE Agent on SB2BI. This is the Agent that communicates with other WebSphere MQ FTE Agents. It has to be connected to the FTP Server Adapter created earlier and the User Map created above. The MQ FTE Agent Adapter is running in the Adapter Container Environment created earlier.
NB: The Adapter should not be Enabled when created.
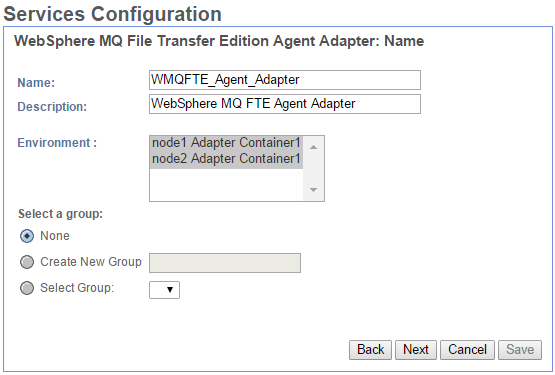
Go to Deployment -> Services -> Configuration and create a new instance of the WebSphere MQ File Transfer Edition Agent Adapter.
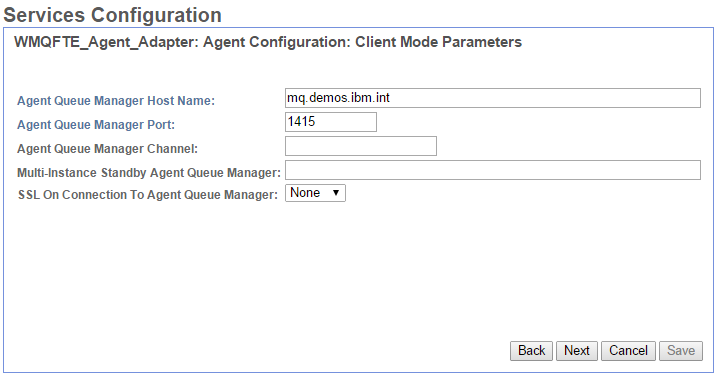
Give the Adapter a name, and link it to the Queue Managers created in WebSphere MQ. Use Client Mode.
Link to the WebSphere MQ Server.
Link to the FTP Server Adapter created earlier.
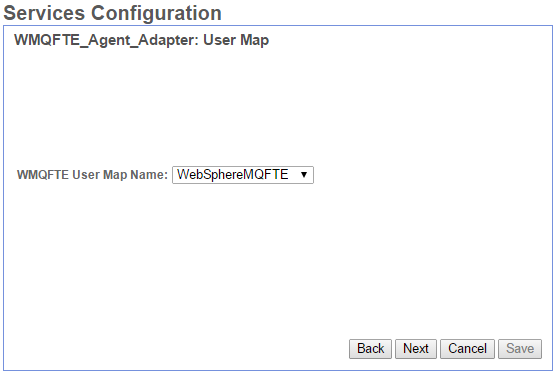
Link to the WMQFTE User Map created earlier.
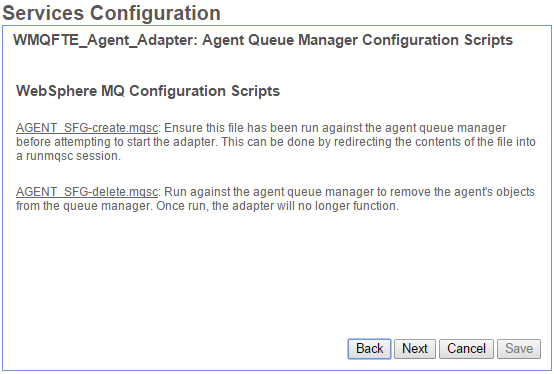
In the end, there will be created mgsc scripts to create and delete the Queues needed for the Agent in WebSphere MQ. Download these files.
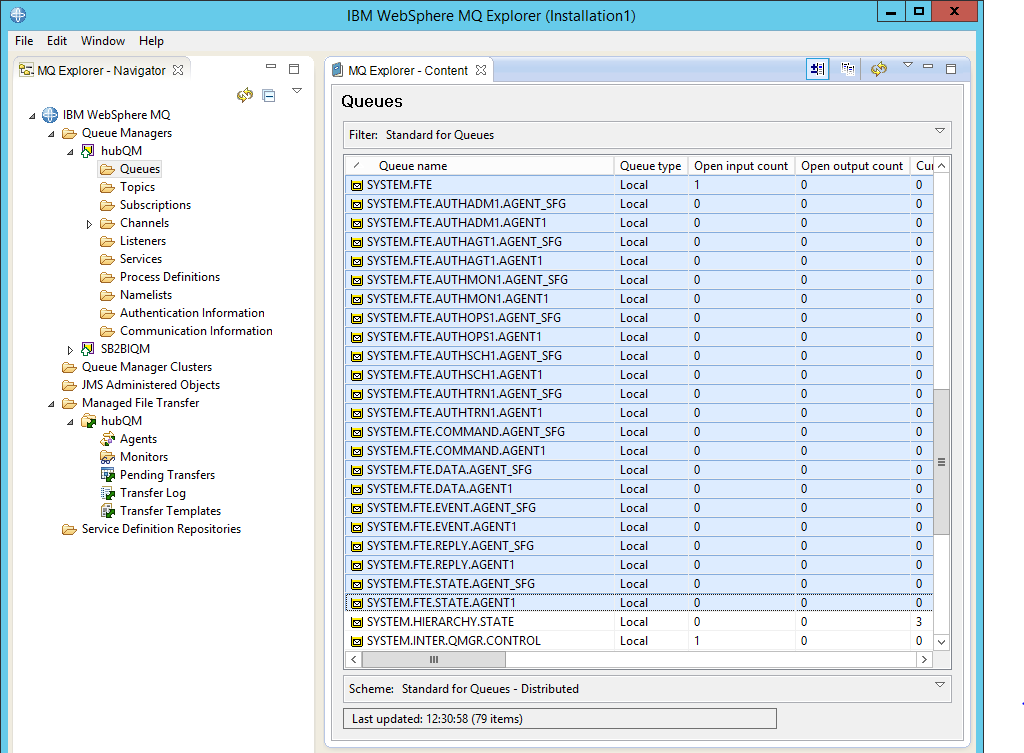
Go to the WebSphere MQ Server, and open a DOS-Shell. Run the mqsc-file downloaded with the following command:
runmqsc <agent_qmgr_name> < <agentname>-create.mqsc
That creates the channels for this Agent in WebSphere MQ.
Before enabling the Agent Adapter, the customer_overrides.properties file in SB2BI needs to be edited. The following is put in:
filegateway.ignoreFilename=.*[.]part[0-9]*
filegateway.wmqfteFtpAdapterNames=FTE_FTP_SA
It is then possible to Enable the adapter. The AGENT_SFG should then pop up in the MQ FTE -> Agents View.
Create WebSphere MQ Suite Async Receive
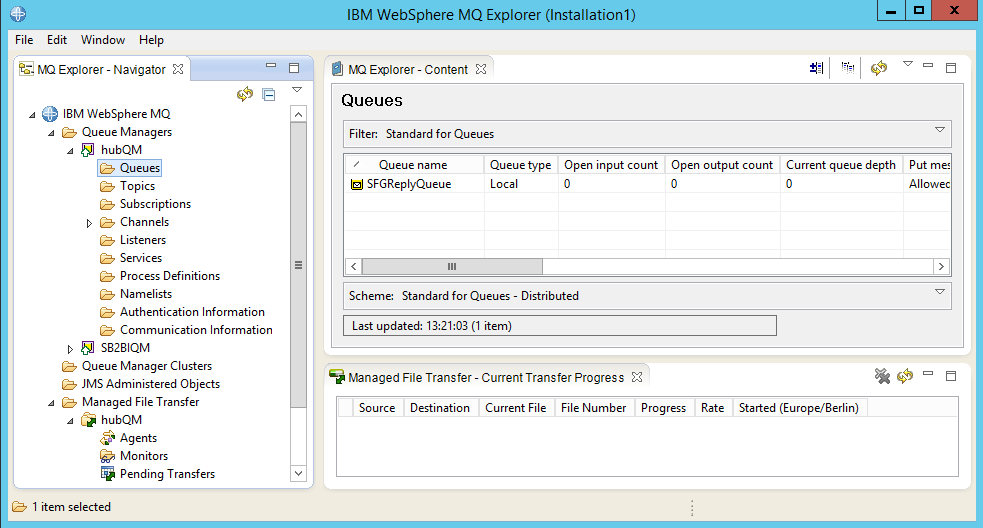
To be able to track requested transfers, I need to create a WebSphere MQ Suite Async Receive Service that uses a Reply Queue in WebSphere MQ. Before that Adapter is created, the reply Queue in WebSphere MQ needs to be created.
I Start by creating a Local Queue in WebSphere MQ. I called it SFGReplyQueue.
Install J2EE Connector Architecture Specification Interface Classes
For SB2BI 5.2.3 and above, you have to download and install the connector.jar file from the J2EE Connector Architecture Specification Interface Classes. Install it by using the Install3rdParty.sh/.bat in SB2BI. <Link til kapittel i tidligere blogg innlegg hvor dette er nevnt>
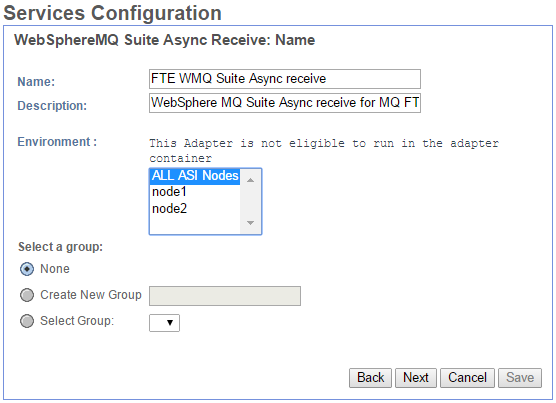
Set up WebSphere MQ Suite Async Receive Service. Go to Deployment -> Services -> Configuration and create a new instance of WebSphere MQ Suite Async Receive Service.
Add Host Name for the MQ Server, Port Number, Queue Manager and a Channel. I use a standard Channel existing by default in MQ. Also add the reply Queue created above.
Select to Get All and to receive one message as one document.

Select the Bootstrap Workflow. This is a standard Workflow in SB2BI.
Click through the rest and finish.
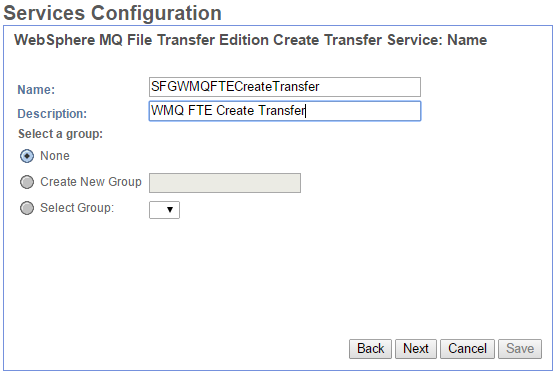
Create WebSphere MQ File Transfer Edition Create Transfer Service
This Adapter is the adapter used when SB2BI delivers files to WebSphere MQ. By default it should be named SFGWMQFTECreateTransfer. If by any reason it is practical to use another name, that has to be edited in the filegateway.properties file, or preferably in customer_overrides.properties where the adapter name is set.
Go to Deployment -> Services -> Configuration and create a new instance of the WebSphere MQ File Transfer Edition Create Transfer Service.
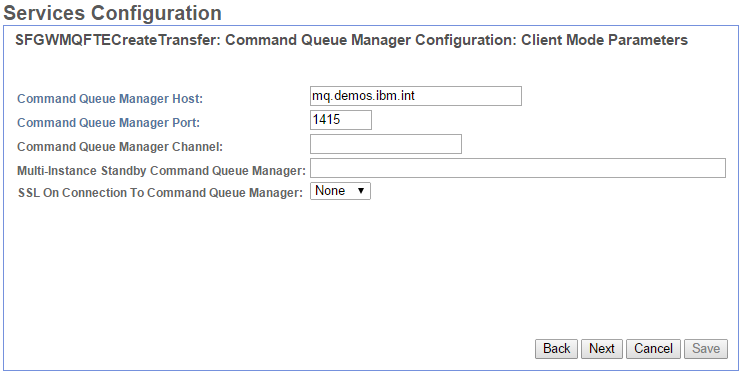
Add the Queue Manager.
Add MQ Server and Port Number.












Hello,
First of all thank you for this guide.
I am trying to follow it, however the adapter fails to start and I get this in the error log file of the queue manager:
AMQ9777: Channel was blocked
EXPLANATION:
The inbound channel ‘SYSTEM.DEF.SVRCONN’ was blocked from address
‘192.168.88.84’ because the active values of the channel matched a record
configured with USERSRC(NOACCESS). The active values of the channel were
‘CLNTUSER(sterling)’.
ACTION:
Contact the systems administrator, who should examine the channel
authentication records to ensure that the correct settings have been
configured. The ALTER QMGR CHLAUTH switch is used to control whether channel
authentication records are used. The command DISPLAY CHLAUTH can be used to
query the channel authentication records.
The user sterling is the one who runs the integrator and he is also added on the MQ machine and the mqm, FTAGENTS and FTUSERS groups.
Any ideas on what I might be doing wrong? Thanks in advance.
Hi,
It is a long time since I did this, and I have just replaced my laptop, and have not yet moved my MQ server to my new Mac, so I am not able to go back and check this. But it has to do with the default authentication in MQ, and that is a field of expertise by itself. I remember that I pretty much disabled all security in my MQ to get rid of the hassle since it is an internal test solution anyway and the fact that MQ is not my field of expertise. I think you could try to run MQSC command ALTER QMGR CHLAUTH(DISABLED) to disable all security. This is of course only if this is a test solution where security isn’t a concern. If not, talk to someone who knows MQ and the security settings in MQ to give the Sterling User the correct access rights.
Thank you for the reply.
Just for the record, I was able to make it work by:
– creating a new server-connection channel
– creating a channel authentication record for the sterling user in that channel
– using that channel when configuring the adapter in sterling
– running the addSpoke script again and setting the agentIPAddress to the sterling ip address
– authorizing the user sterling to put/get/inquire messages in the reply queue
I’m sure there is a better way to do it, but this worked for me.
Anyway, again thank you for this great guide.
Addendum: The sterling user also must not be in the mqm group